Keep It Clean: The Vaporizer Maintenance Routine That Actually Makes a Difference
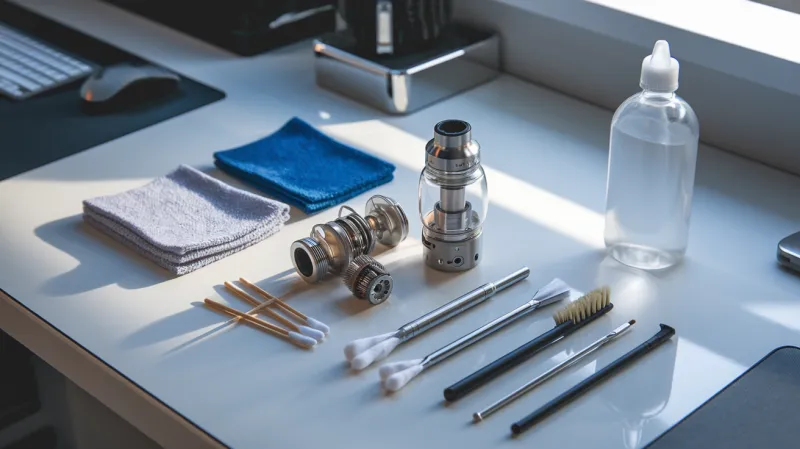
Photo: vaporizer cleaning supplies isopropyl alcohol cotton swabs disassembled device, via lh7-rt.googleusercontent.com
Let's be honest — cleaning your vaporizer is probably the last thing on your mind after a solid session. But here's the thing: neglecting maintenance is one of the most common ways people unknowingly degrade their experience over time. Residue builds up, airflow gets restricted, and before long, what used to hit smooth starts tasting burnt and harsh. Not exactly the wellness experience you were going for.
The good news? Keeping your device in top shape doesn't require a chemistry degree or an hour of your Saturday. With a consistent routine and a few key tools, you can protect your investment, preserve vapor quality, and make every session as clean and effective as the first.
Why Maintenance Actually Matters for Your Health
This isn't just about performance — it's a wellness issue. When resin, plant material, and oil residue accumulate inside your device, they can combust at higher temperatures or introduce stale, potentially harmful compounds into your vapor stream. For anyone using their vaporizer as part of a health-conscious routine, that's a real concern.
Clean vapor starts with a clean device. Residue-free pathways mean you're inhaling what you actually loaded — not a cocktail of yesterday's leftovers. If you've ever noticed your vapor tasting off or your throat feeling irritated after a session, your device might be overdue for a deep clean.
What You'll Need Before You Start
Before diving in, gather your supplies. Most cleaning jobs call for the same basic toolkit:
- Isopropyl alcohol (91% or higher) — the gold standard for breaking down resin and oil
- Cotton swabs and pipe cleaners — for reaching narrow chambers and airways
- Small brushes — many devices come with one; a soft toothbrush works in a pinch
- Warm water — for rinsing non-electronic components
- Paper towels or a clean cloth
- A small container or zip-lock bag — for soaking removable parts
Skip the harsh household cleaners. They can leave residues that are genuinely dangerous to inhale and may damage your device's materials.
Step-by-Step: The Routine Clean
For most users, a light maintenance clean after every few sessions is the sweet spot. Here's how it goes:
1. Let it cool completely. Never clean a hot device. Beyond the burn risk, heat can make certain materials warp or crack when exposed to alcohol.
2. Disassemble removable parts. Take off the mouthpiece, screen, and any other detachable components. Refer to your device's manual if you're unsure what's meant to come apart.
3. Brush out the chamber. Use your included brush or a soft-bristle alternative to sweep loose plant material out of the heating chamber. Do this gently — aggressive scrubbing can damage the heating element.
4. Swab the airpath. Dip a cotton swab in isopropyl alcohol and carefully clean the airpath, mouthpiece stem, and any resin-prone surfaces. For stubborn buildup, let the swab sit for a few seconds before wiping.
5. Soak removable glass or metal parts. Drop screens, glass stems, and similar components into a small container of isopropyl alcohol for 20–30 minutes. Rinse thoroughly with warm water and let them dry completely before reassembling.
6. Wipe down the exterior. A lightly dampened cloth keeps the outside looking clean and prevents grime from working its way into seams.
The Deep Clean: Once a Month (At Least)
If you're a regular user, a more thorough cleaning once a month is a smart habit. The process is essentially the same as above, but with longer soak times and more attention to areas you might skip during routine maintenance — like the inside of the mouthpiece or any joints where residue loves to hide.
For convection vaporizers especially, keeping the airpath spotless is critical. Even a thin layer of buildup can noticeably restrict airflow and alter the temperature your herb actually experiences.
Common Mistakes That Are Hurting Your Device
Even well-intentioned cleaning can go sideways. Watch out for these frequent slip-ups:
Using low-percentage alcohol. Anything below 90% contains too much water and won't dissolve resin effectively. It can also leave moisture in places you don't want it.
Cleaning while the device is still warm. Already mentioned, but worth repeating — patience here protects your device.
Soaking electronic components. Only non-electronic, removable parts should ever touch liquid. The battery housing, heating element connections, and any circuit-adjacent areas should only ever be cleaned with a barely-damp swab.
Skipping the dry time. Reassembling before everything is fully dry is a recipe for mold, corrosion, or a compromised first hit. Give parts at least an hour of air-drying — longer if you're not in a rush.
Forgetting the screen. Screens get clogged fast and are one of the biggest culprits behind restricted airflow. Replace them regularly; most manufacturers sell replacements cheaply.
How Often Should You Really Be Cleaning?
Honestly, it depends on how often you use your device and what you're loading into it. Denser, stickier concentrates demand more frequent attention than dry herb. A good general framework:
- Light users (a few times a week): Full clean every 2–3 weeks
- Daily users: Light clean every 3–5 sessions; deep clean every 2 weeks
- Heavy or multiple-session-per-day users: Light maintenance after every session; deep clean weekly
Your senses are actually your best guide here. If the vapor tastes off, airflow feels restricted, or you can visibly see buildup — that's your device telling you it's time.
The Payoff: Better Performance, Better Wellness
Think of vaporizer maintenance the same way you'd think about any other wellness habit — small, consistent effort compounds into real results. A well-maintained device delivers more accurate temperatures, cleaner vapor, and a more predictable experience session after session. You'll also get more life out of your hardware, which means your investment goes further.
Smarter vaping really does start with the basics. And it turns out, one of the smartest things you can do is just keep things clean.


